How To: Diagonal Feature Nail
Sunday, May 04, 2014Hello everyone, welcome to my very first blog post!
Although I am definitely no expert, I thought I'd share with you one of my favourite nail looks.
Today's post will show you how to simply create a diagonal feature nail. Let's go.
The products that you'll need:
- A top coat and base coat
- Nail polish remover
- Tape
- Two nail colours of your choice
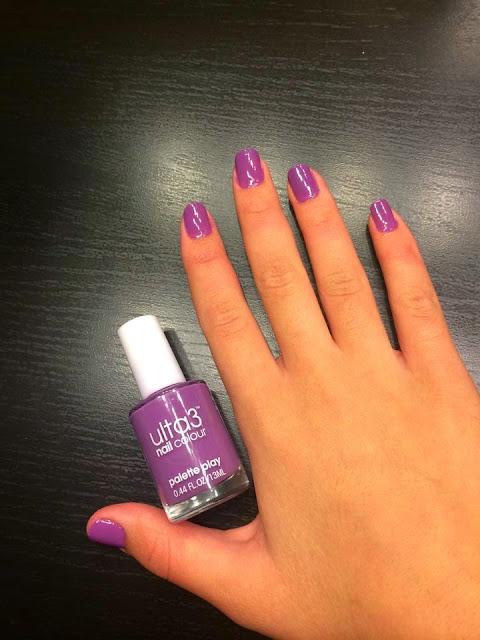
For me, I'm using the Sally Hansen Advanced Hard As Nails as my top and base coat. Maybelline nail polish remover & tape just from the $2 store (winning), and two gorgeous colours from Ulta3 called Palette Play* and Lollipop Lilac*.
Step 1 - Clean your nails
Of course we can't begin with dirty, chipped nails!
Step 5 - Decide on what finger you'd like to be your feature nail
Step 6 - Begin the tape process
Rip off a small section of tape, and make the tape less sticky by placing it on your skin
Step 7 - Diagonally place the small section of tape on your feature nail
Step 8 - Take the colour you have selected to be as the feature colour on your feature nail
Step 9 - Paint your feature diagonal nail
Step 11 - Lock it in with a top coat
And you're done :) !
*Products marked with an asterisk have been provided for editorial consideration. For more information, please read my disclaimer.

Follow


7 comments
Katina!!
ReplyDeleteRia !!! :P
DeleteLove the tutorial! You have such lovely nails 😏
ReplyDeleteThanks Jackie :) <3
DeleteThis is such a good idea Katina! ♡
ReplyDeletehttp://theblushingbrunettes.blogspot.com.au/
Aw yay :)! Thanks Eila <3
DeleteThank you so much Penny! :)
ReplyDelete